We all know appearances matter – and a creased shirt can create a less-than-smart impression. Whether it’s your everyday work shirt or a dress shirt for the big day, if it’s freshly pressed you’ll look your best. Not sure how to iron a shirt? This article makes it simple. If you already know the basics but want an easy way to iron shirts, or if you’re looking for how to iron a T-shirt, there are some tips for you here as well.
How to iron a shirt: before you start
Always check the label on an item of clothing before washing or ironing it. Here are the basics.
An iron with dots inside it – the number of dots tells you how warm the iron should be. One dot: cool. Two dots: medium.
Three dots: hot.
A crossed-out iron symbol – you can’t iron that shirt.
A symbol that looks like an iron sitting on a table, with just the table legs crossed out – you can iron the item, but you can’t use steam.

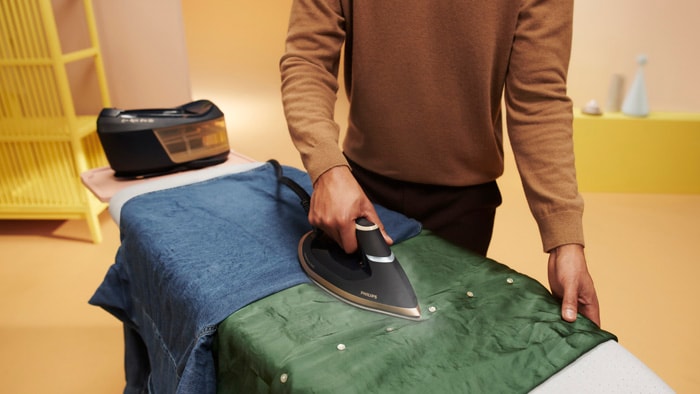
As different clothes have different ironing requirements, it can use up your precious time to keep checking and switching settings while ironing. So you might want to invest in a smart iron, such as the Philips Steam Generator Iron with OptimalTEMP technology that detects the fabric it’s working on and choose the right temperature setting for you.
How to iron a shirt: setting up
Here’s a step-by-step guide on how to iron a shirt properly. If you already know how to set things up, you can skip down to step 6.
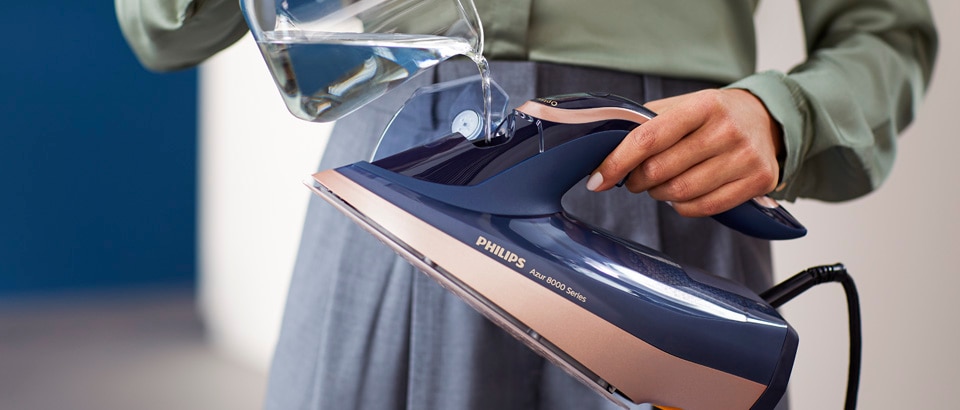
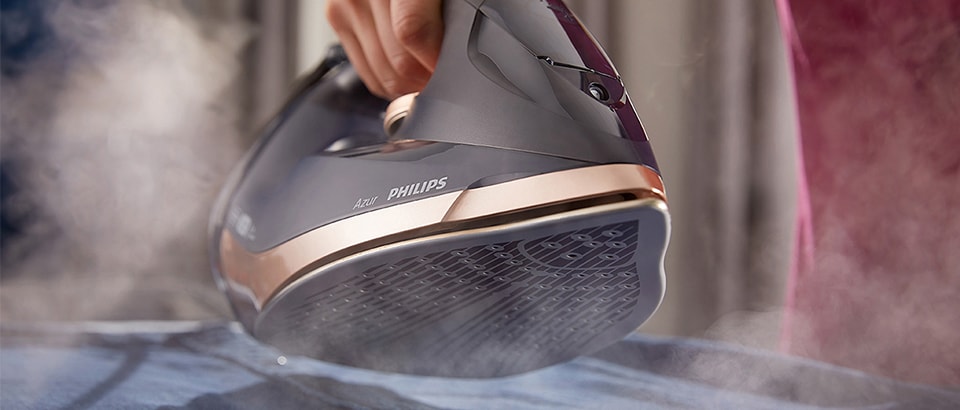
The steam setting will be more effective at getting out wrinkles – as the continuous stream of steam smooths out creases more easily. Put water in the iron’s reservoir and set to steam. (Using filtered or bottled water helps prevent your iron clogging up).
Most ironing boards have a metal bit at the back. Put the iron here and set the temperature according to the fabric label before plugging it in.
Let the iron heat up completely before use. In the meantime, follow the steps below.
Lay the shirt on the ironing board, inside-out. If you iron mainly on the inside, the outside is more likely to stay pristine.
The best way to iron a shirt depends on the fabric. You can put the iron directly on cotton or linen. If you’re ironing more delicate or manmade fabrics like silk or nylon, you’re less likely to damage your clothes if you put a clean tea towel over the top and iron through that.

How to iron a shirt: the method
Iron the collar first. Flatten it out and iron the underside, then the outside.
Do the same with the unbuttoned cuffs. Underside, then outerside. Iron around the buttons with iron’s point.
Next, how to iron shirt sleeves. Lay the sleeve out on the ironing board, with the seam at the edge. Move in stripes from the shoulder towards the cuff as you iron, then turn the sleeve over and repeat.
When you’re using an iron, shirt shoulders can make it hard to keep fabric flat. Hook the shoulder over the pointed end of the board to make it lie flat.
Iron the front of your shirt, working downwards from the top. Do one side, then switch shoulders and do the other.
Turn the iron off and let it cool.
To prevent limescale, empty the water reservoir before putting the iron away.
Put your shirt on a hanger to keep it wrinkle-free.

How to iron a T-shirt
Ironing a T-shirt is a simpler process. Set things up (steps 1 to 5), then:
Put the ironing board through the shirt, so you’re only ironing one layer of fabric at a time.
Rotate your T-shirt around the ironing board as you go to make sure the whole item gets ironed.
When you’re ironing a T-shirt, moving the iron in circles or stripes can stretch the fabric, so press the iron to one spot at a time and try to move it as little as possible.
Let the T-shirt cool for a bit before folding it to avoid any creases.

How to iron a shirt without an iron
If you want a quick and easy way to iron a shirt without an iron, you could invest in a handheld garment steamer. It’s more lightweight and manoeuvrable than most irons, and can be used on clothes that are hanging up, saving you the hassle of setting out the ironing board.

